


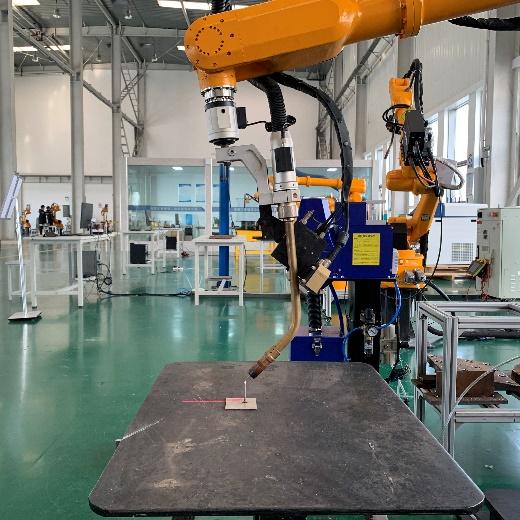
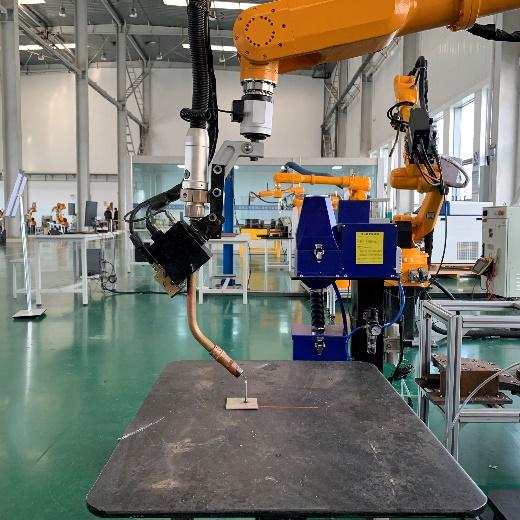


Intelligent robot workstations, intelligent work islands, providing the entire process (cutting, assembly, welding, grinding, inspection, etc.) of intelligent applications for the non-standard metal structure manufacturing industry.
When selecting robotic welding systems and equipment, the real question isn't which one is objectively "best" – it's which solution fits your specific production scenario, team capabilities, and business goals. The right automatic welding robot for one manufacturer might be completely wrong for another, regardless of specifications or price.
Choosing a robotic welding system is not about finding the “best” machine on the market.
It is about finding the right solution for your real production needs.
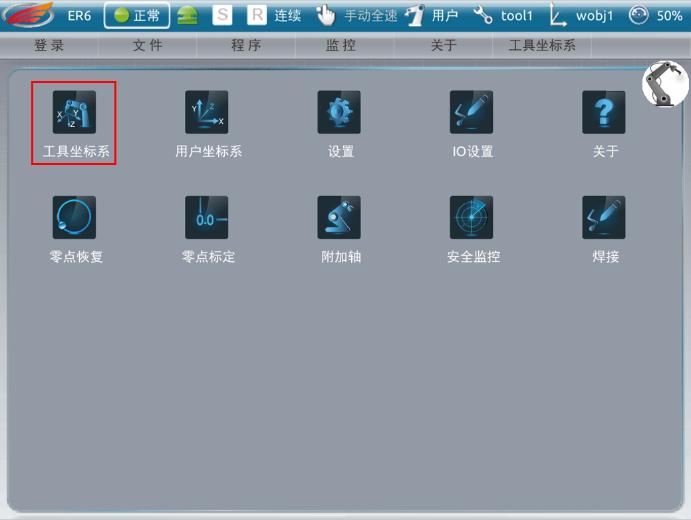
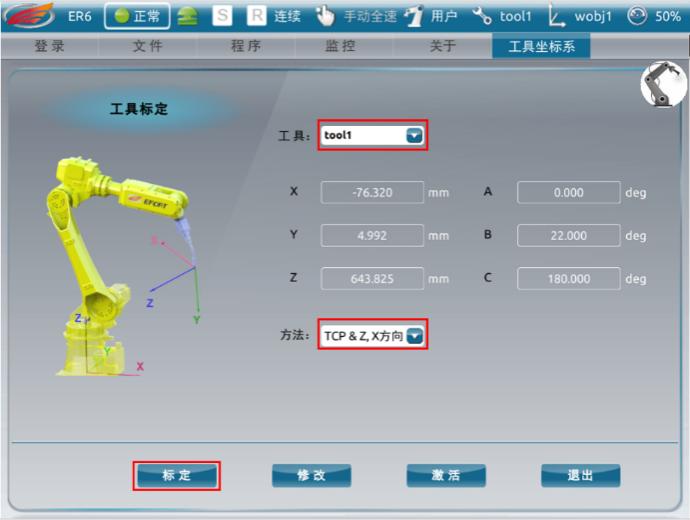
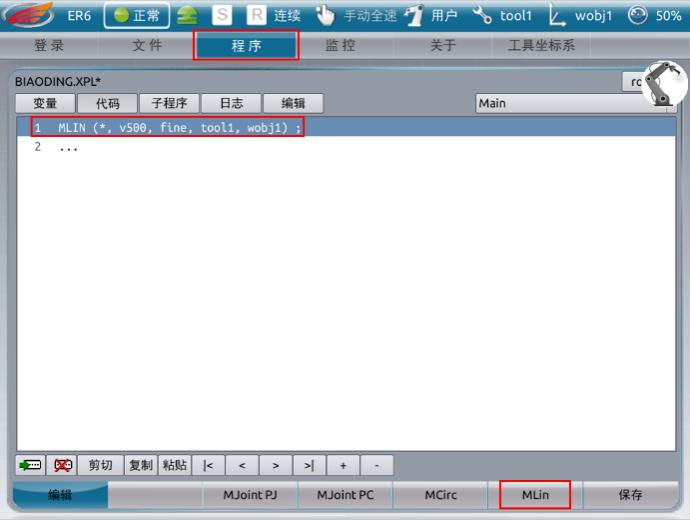
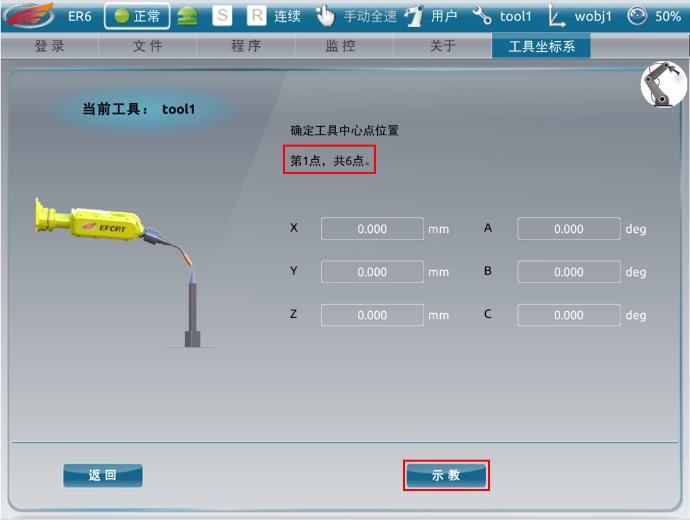
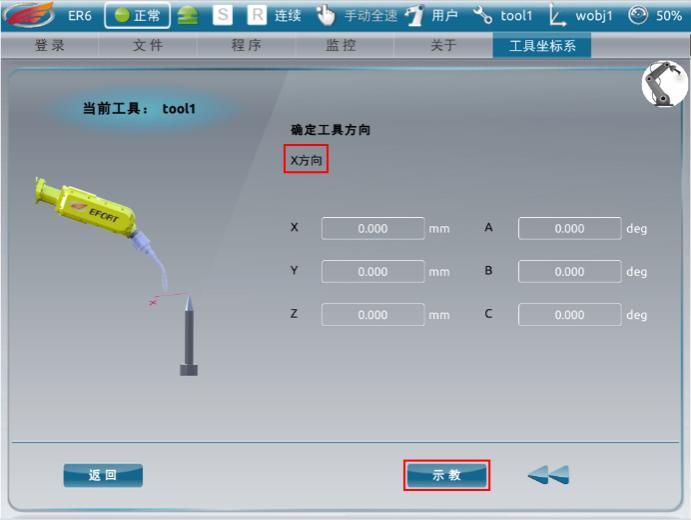
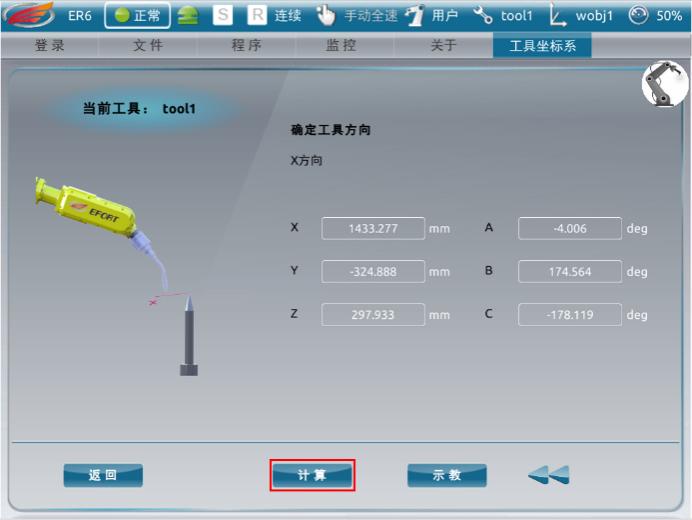
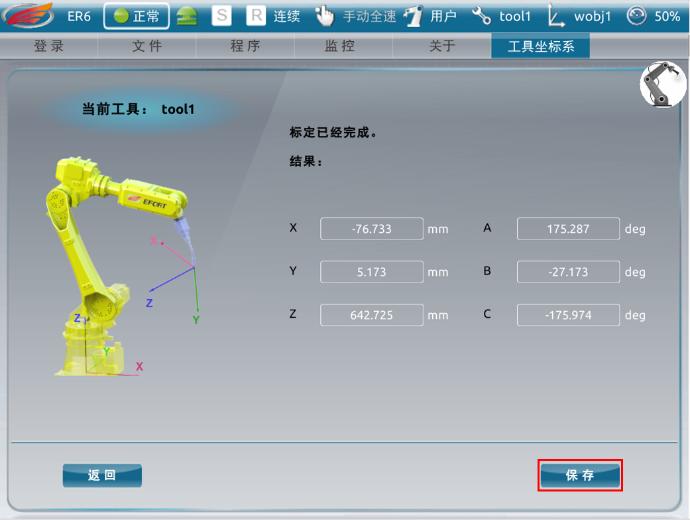
Model import, reverse modeling, teach programming, drag teaching, 3D vision, seam tracking, AI welding — each method has its own advantages. The key is matching the technology with your workpieces, batch size, operator skills, and production workflow.
For batch production, model import and offline programming may be more efficient.
For small batches and frequently changing parts, reverse modeling and vision-guided systems can offer more flexibility.
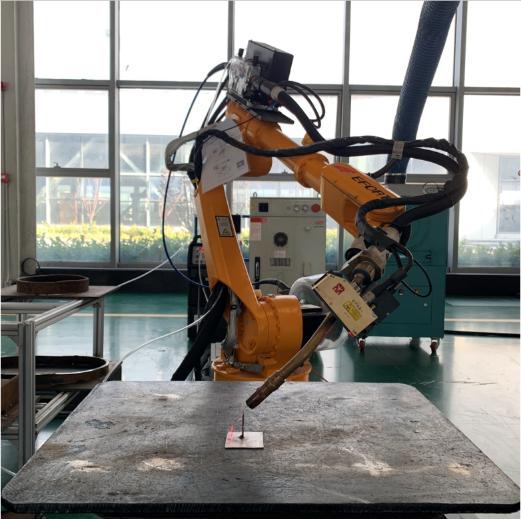
For complex or confined welding areas, drag teaching may be more practical.
A good robotic welding system should not only weld well — it should also be stable, easy to operate, and suitable for the people who use it every day.
At JTC LASER, we believe the right welding automation solution should help manufacturers reduce labor pressure, improve welding consistency, and make production easier to manage.
Don’t just ask which robot is the most advanced.
Ask which one truly fits your factory.
lasermanufacture.com/how-to-choose-robot-systems-and-equipment-the-key-isnt-best-but-most-suitable/
#RoboticWelding #WeldingAutomation #WeldingRobot #IndustrialAutomation #JTCLASER #SmartManufacturing #RobotWelding
1 CommentComment on Facebook
Tsfd
Intelligent teaching-free and programming-free welding robots create value for leading local machinery enterprises.
lasermanufacture.com/the-real-gap-between-intelligent-welding-systems-is-not-computing-power-but-…
1 CommentComment on Facebook
Yes thanks you univers merci beaucoup amen


