|
|
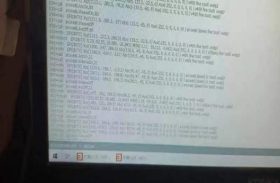
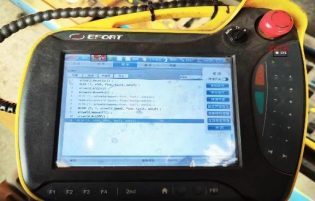
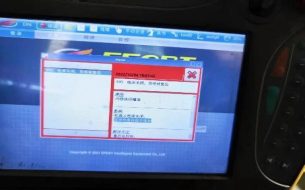
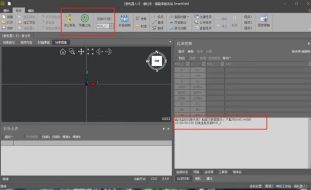
The program cannot be loaded (3D) 1.Check if your computer and teaching panel are connected and turned on.
2.If the teaching panel connection is not normal, restart the teaching panel and computer software; Turn off and plug back in.
1.
|
|
|
Position tracking error in 11#8: (seven-axis gantry) 1. Reset the zero point of the extra axis |
|
|
Unable to record position: (hand teaching of the floor rail) Cause: The station or tool conflicts with the current program. Solution: Adjust the station or tool to match the current state. |
|
|
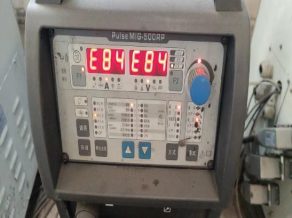
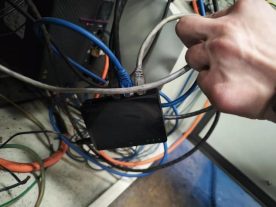
E84 bus failure: (AOTAI welding machine) Phenomenon: Abnormal connection between the robot and the communication controller. 1.Abnormal Thread Feeding
Solution: 1. Restart the welding machine and control cabinet.检查机器人是否上电异常
2.Check the connection between the robot and the communication controller
3.The fuse has tripped
4.The CAN communication cable is damaged.
|
|
|
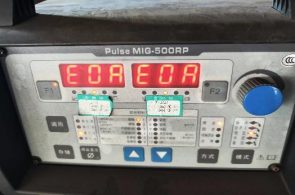
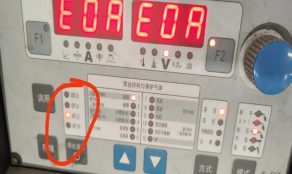
Water cooling anomaly E0A: (AOTAI welding machine) Cause: The water tank is empty. Solution: After adding water, simultaneously press the storage and diameter buttons of the welding wire, then press the up and down arrows to adjust up to p10. Turn the right button to put it in ono mode for two minutes, then switch it to on mode, and finally press storage to exit. 2. Restart the welding machine and the robot’s control cabinet. |
|
|
No input signal on the computer: (PC) Cause: The signal cable between the central unit and the monitor is loose. Solution: 1.Secure the loose cable.
2.Unplug the cable and plug it back in.
|
|
|
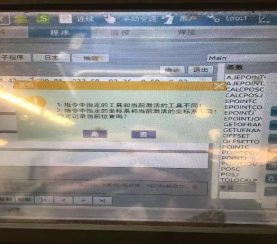
In the computer software, you cannot change the tool or station in the (3D) positionSolution : 1.Reconnect the connection.
2.Restart the software.
|
|
|
Error 4903: (3D) Cause: 1.The target position is not valid.
2.The limit has been exceeded.
Solution:
3.Switch to manual mode, press the red X to clear the error, and reset the welding signal.
|
|
|
Welding Torch Collision 1853: (3D) Cause: Torch Collision. Solution: Go to Welding → Equipment Settings → Torch Collision Detection, change it to Off, save, press the red X to clear the error, move the torch to a safe position, and turn torch collision detection back on. Under Monitor → IO → Extension 2 → Input, turn off Collision Protection IO.
|
|
|
Axis 1800 Movement Error (Code = -4): (3D) (Error 1801: Solution: Restart the Software) Cause: The limit has been exceeded. Solution: Press the red X to clear the error → click Stop under the program → clear the welding machine alarm and reset the welding signal → connect the software and turn it back on to move the robot to the safe point.( If there is no computer, use the teaching panel to move the torch in the direction of the robot.) |
|
|
Failure to start the 3923 arc: (3D) Cause: 1.The part is suspended and does not make contact with the welding machine’s grounding.
2.There is debris at the weld point.
3.The conductive nozzle is clogged.
Solution:
Press the red X to clear the error → clean → click Stop below the program → reset the welding signal → run the line before the start of the arc → PC → Start.
|
|
|
Pores in welding: (3D) Cause: 1.The pressure of the welding gas is low (the gas tube almost empty).
2.The gas outlet ports are obstructed.
Solution:
3.Clean the holes in the conductive nozzle (or replace it).
4.Change the gas cylinder (and adjust the flow).
|
|
|
Phenomenon: Warning, red light on, no error on the display (seven-axis gantry). Cause: The program has not been fully executed. Solution: Stop the program → resets the welding signal → moves the torch position. |
|
|
Emergency Stop 1802: (3D) Cause: The red emergency button has been pressed. Solution: Turn and lift the emergency stop button → press the red X. 1809 |
|
|
Phenomenon: When you click on tool or station on the teaching dashboard screen, there is no response. Solution: Restart the robot’s control cabinet. |
|
|
4955 Welding Arc: (3D) Solution: Switches to manual mode → clears the error with the X → removes the welding alarm and resets the welding signal → switches to automatic mode → turns on the system. |
|
|
3930 Welding Arc: The robot’s current motion is not Cartesian (3D) Cause: The current motion mode conflicts with the program’s execution mode. Solution: Switch to manual mode → press the red X → clear the welding alarm and reset the welding signal → switch to automatic mode → turn on the system. |
|
|
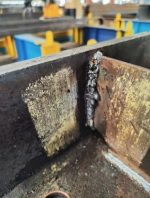
Defective Vertical Weld Seam: (3D) Cause: 1.The holes in the conductive nozzle are clogged.
2.Insufficient gas supply.
3.Voltage too low and current too high.
Solution: Review and correct the situations mentioned above.
|
|
|
955 Power off, system has rebooted (3D) Cause: Internal execution error. Effects: 1.The power to the robot is turned off.
2.Retention records are not saved.
Solution: Restart the control cabinet.
|
|
|
3922 Welding Arc: The arc is interrupted during the welding process (3D) Solution: Restarts after the arc interruption.
|
|
|
1933 #8: Axis 8 0xFF14 — Control encoder exceeds speed (seven-axis gantry) 1. Prolonged Error Inspection Method: Check if the motor vibrates during operation. Solution: Disassemble and reassemble the motor gear. 2. Single Error Solution: Resets the zero point of the extra axis.
|
|
|
4831 #7: Axle 7 0x6031 — Power Braking Resistance Overload Alarm (Seven-Axis Gantry) Solution: Resets the zero point of the additional axle. |
|
|
1941 #8: Axis 8 0xFF22 — Abnormal Position Target Value (Seven-Axis Gantry) Solution: Resets the zero point of the additional axis. |
|
|
4218 #8: Axis 8 0xE012 — Abnormal Fault Record 4218 #7: Axis 7 0xE012 — Abnormal Failure Historical Record (Seven-Axis Gantry) Cause: 1.Historical record of abnormal failures.
2.Internal driver anomaly.
Solution:
3.Restart the controller (restart the control cabinet).
|
|
Phenomenon: Prolonged error in axes 7 and 8 of the seven-axis gantry. Inspection: 1.Check to see if the motors on shafts 7 and 8 are loose.
2.Check if the rail is tilted.
3.Check if the motors on shafts 7 and 8 are blocked.
|
Solution: Resolve according to the specific situation. |
|
|
Phenomenon: The teaching panel is not responding when clicked. Cause: 2.The teaching panel is not connected.
3.The Teaching Panel screen is not working properly.
Solution:
4.Restart the teaching panel.
5.Restart the control cabinet.
6.Replace the teaching panel.
|
|
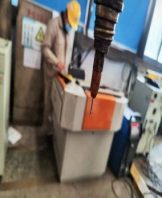
Phenomenon: The ground wire in the control cabinet has burned out. Cause: 2.The wiring is deteriorated.
3.The ground wire of the positive or negative pole of the welding machine has been shorted for a long time (current return).
4.The circuit breaker is too small.
5.
|
Solution: 2.Replace the circuit breaker.
3.Check if the ground wire of the welding machine is in contact with the ground rail.
4.Replace the wiring.
5.
|
|
|
Collision Detection Switch on Collision Detection On: May cause a shaft collision. Off: Can be used normally (collision detection off). |
|
|
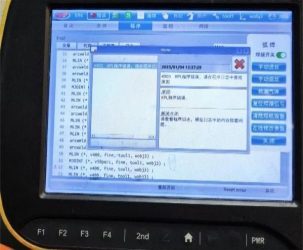
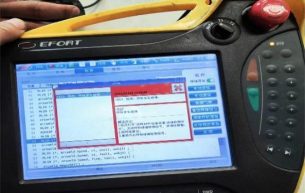
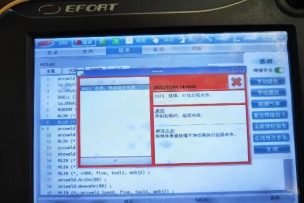
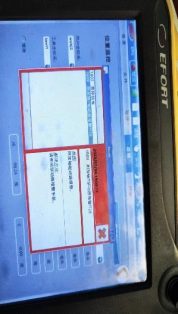
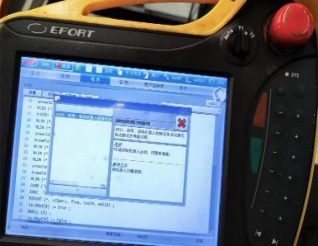
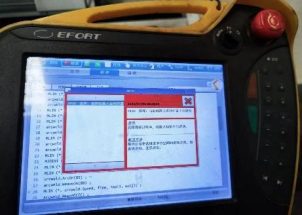
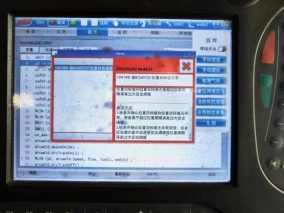
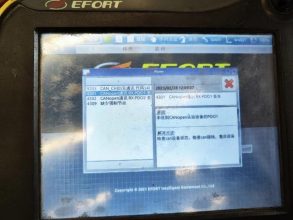
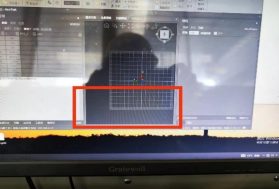
Cause of the phenomenon shown in the left image: 1.The teaching pane does not match the card file.
Solution: 1.Refresh the teaching dashboard again.
2.Update the card file and teaching dashboard again.
|
|
|
Problem phenomenon: The software suddenly can’t connect or turn on. Solution: 1.Restart the software.
2.Reconnect the network cable to the switch.
|
|
|
Problem phenomenon: In the welder panel, the welding current or voltage is only half or several multiples of the welding parameter. Cause: The diameter of the welding wire was incorrectly selected. Solution: On the welder panel, adjust the diameter of the wire to match the diameter of the wire being used. |
|
|
Cause: Caused by a sudden shutdown of the welder. Solution: Reconnect and continue. |
|
|
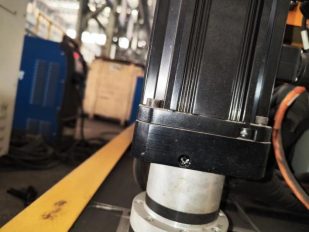
Phenomenon: 1.Alarm on axis 7 of the ground rail.
2.Abnormal noise in the additional shaft motor when moving.
Cause: 1.Loose gear.
2.Loose connection between motor and gear.
Solution: Tighten the screws on the gear or the connection between the motor and the gear. If the situation is serious: reconfigure the parameters of the driver motor).
|
|
Phenomenon: The 3D camera lid cannot be closed. |
Inspection: 1.Check if the signal cable connection is correct.
2.Through the I/O connected to the cable, check if the air tube has gas.
Solution: Resolves based on inspection results.
|
|
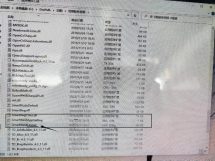
Phenomenon: The teaching panel cannot read the update file. |
Inspection: 1.Check if the USB stick is working properly.
2.Check to see if a rtm_update folder still exists inside the rtm_updatehue folder.
Caution: Inside the rtm_update folder there should not be another folder named rtm_update.
|
|
Phenomenon: The torch cleaning station is unresponsive. |
Inspection: 1.Check if the signal cable connection is correct.
2.Through the I/O connected to the cable, check if the air tube has gas.
Solution: Resolves based on inspection results.
|
|
Phenomenon: The screen on the teaching panel is not working. |
Inspection: 1.Restart the teaching dashboard to see if you see the “teaching dashboard not connected” error.
2.Check if the connection of the cable from the teaching panel to the control cabinet is correct.
Solution: 1.Tighten the connection of the cable from the teaching panel to the control cabinet tightly.
2.Restart the teaching panel.
3.Send the manufacturer for repair if necessary.
|
|
|
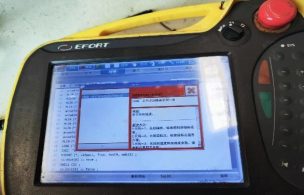
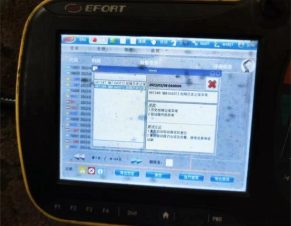
Cause: The file on the higher-version card is not compatible with the lower-version software. |
|
Phenomenon: Abnormal welding wire feeding. Analysis: 1.Advance the wire manually and observe the operation of the wire feeder.
2.Check to see if the teaching panel shows any wire feed alarms.
3.Check to see if the welder is showing any alarms.
4.Check the welding wire drum for wire.
|
Solution: 1.Clean the feed wheel, feed hose, and tighten the feed wheel.
|
|
Phenomenon: Missing components in the page layout. |
Solution: Delete the file with the layout extension of the image and restart the software. |
|
|
|
|
|
|
|
|
|
|
|
|
|
|
|
|
|
|
|
|
|
|
|
|
|
|
|
|
|
|
|
|
|
|
|
|
|
|
|